

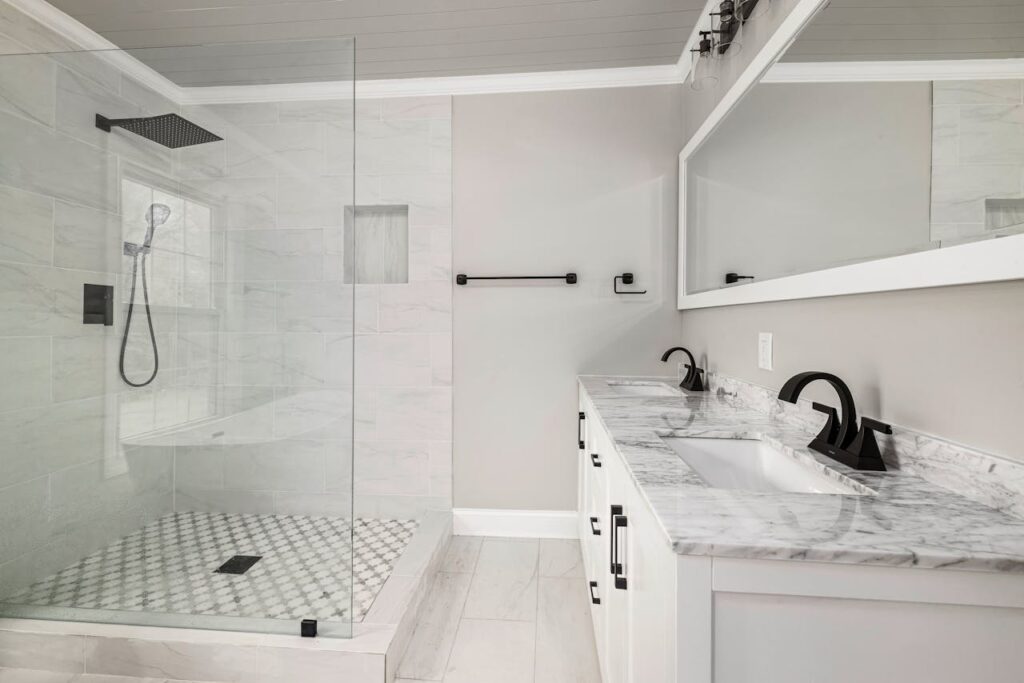
How To Fit A Shower Screen
Usually, when you aim to keep your bathroom a splash-free zone, you can install either a shower curtain or a shower screen. Shower curtains were previously popular options for over-bath showers because they are cheap and easy to install. However, if you want a more effective option, you are likely considering a shower screen. Not only are they easier to clean and provide a much less hospitable home for mould, but shower screens can also make your bathroom more marketable and increase your home’s value if they are installed properly.
In this guide, we will provide step-by-step instructions for installing a shower screen for both a wet room and a bath. Follow along to ensure that you fit your shower screen correctly to prevent leakage and enhance the value of your property. First and foremost, we’ll outline some preliminary steps and what tools and supplies you will need.
Preliminary Steps
A glass shower screen is not going to be as straightforward to install as a shower curtain, but it’s not impossible. If you want to go easy on the budget, doing it yourself can help. However, teamwork makes the dream work. Whether you're a DIY expert or tackling your first project, installing a shower screen requires assistance. If you want to avoid injury and ensure a secure fit, always enlist help when dealing with glass panels during your shower screen installation.
Tools You Need to Install a Shower Screen
- A pencil or marker.
- A tape measure.
- A spirit level.
- An electric drill.
- Screwdrivers.
- A hammer.
- A multi-purpose detector.
- Wall plugs.
- A sealant gun.
- Silicon.
Preparing The Area
If you’re replacing an existing shower screen you may be thinking: “How am I supposed to get this out?” The answer to that question will vary depending on the kind of shower screen you’re working with. Typically it starts with removing the glass screen from the wall channel to reveal the screws that attach the channel to your wall. Unscrew those, remove any sealant, and take out the wall panel. Not sure how to effectively remove sealant? Here is a useful guide to help.
Whether you have removed an existing shower screen or not, you’ll need to thoroughly clean the area before installing your new shower screen.
How to Install a Shower Screen
If you have enlisted some help, found all the tools you need, and feel confident in your abilities, it’s time to get to work. Here’s how:
Our Step-By-Step Guide: Fitting a Shower Screen
Use these instructions, alongside the manufacturer’s instructions you received with your shower screen, to successfully fit your shower screen
1. Confirm the area is level
To ensure the process goes smoothly, you must check that you’re working on a flat area. Use the spirit level to check that the floor or shower tray where you plan to install your screen is level. It is also important to confirm that the walls where you are installing the screen are square.
2. Measure and align the wall channel
The wall channel is the metal element that fastens the glass shower screen to the wall. To position this element you’ll need the measuring tape, spirit level, and your pencil/marker. Measure 10mm - 15mm from the outer edge of your shower tray and mark that spot. Then, place the vertical wall channel on the spot you just marked out flush against the wall you want to fasten it to. Use the spirit level to ensure the channel is perfectly perpendicular to the floor and carefully mark the spots where you need to drill holes.
3. Drill your holes
There are a couple of things you must consider before drilling holes into your wall. First, confirm that there are no pipes or electrical connections in the area. It is also important to use a drill bit appropriate for the material you will be drilling through.
Tip: If you’re drilling into tile, wet the tip of your drill bit first to avoid damaging your wall.
Now, you can safely drill into the part of the wall you marked off in step 2 and fit the wall plugs into those holes. Accidentally drilled where you shouldn’t have? Check out our guide on how to fix a bathroom wall.
4. Fasten the wall channel
Before placing your channel, seal off the area where the shower floor meets the wall with a small bead of silicon. Then, line the holes of the wall channel up to your freshly drilled holes and use your screwdriver to securely fasten the channel to the wall.
Tip: to ensure your shower screen is water-tight, place a small bead of silicon along the length of the wall channel before you secure it to the wall with screws.
5. Fit the shower screen
Now is the time to call in your reinforcements and ask them to help you handle the glass panel carefully. Slide the glass screen into the groove of the wall channel and secure it in place. When securing the glass screen, always follow the manufacturer's instructions to avoid mishaps.
If your screen is a large static glass panel, you may need to mount a bracing bar to provide additional stability. To do this, place the bracing bar along the top of the glass panel and check that it is level using the spirit level before marking the drill spots off on the wall. Finally, drill the holes and fasten the bracing bar securely.
6. Seal it all in
Using the sealant gun and silicon, seal the edges of your shower screen to ensure everything is water-tight. If you have a static shower screen, it is a good idea to seal the edges where it meets the floor as well as the edges near the wall channel. Leave the silicone to set for 24 hours to prevent puddle-inducing leaks.
Unless you have additional panels to install to complete your enclosure, you have now successfully installed your shower screen!
Our Step-By-Step Guide: Fitting a Shower Screen on a Bath
The process of installing an over-the-bath shower screen is fairly similar to that of a regular shower screen.

1. Confirm the bath is level
Use the spirit level to check that the bath is level. It is also important to confirm that the wall you will fasten the screen onto is square.
2. Mark up the wall channel
Mark a spot in the bath 40mm from its outer edge. Then place the vertical wall channel on that spot. Use the spirit level to ensure the channel is perfectly perpendicular to the bath and carefully mark the spots where you will need to drill holes into the wall.
3. Drill the holes
Drill into the spots you marked off in step 2 and fit the wall plugs into those holes.
4. Fasten the wall channel
Line the holes of the wall channel up to your freshly drilled holes and use your screwdriver to securely fasten the channel to the wall.
5. Fit the shower screen
For this step, ensure you have someone to help you handle the glass panel. Slide the glass screen into the groove of the wall channel and secure it in place. This step will differ depending on the screen you have, so be sure to follow the manufacturer's instructions when securing it.
6. Seal it all in
Using the sealant gun and silicon, seal the edges of the screen near the wall channel to ensure everything is watertight. We have a guide on the best way to apply sealant if you’re unsure. Give the silicone 24 hours to set before enjoying your newly installed shower screen!
AS FEATURED IN


