

How To Remove Bath Sealant
Before any bathroom makeover, you’ll need to remove the old elements of the space that are set to be replaced. Whilst you’ll need professional assistance to remove some fittings and fixtures of your old bathroom design – plumbed-in furniture, floor tiles, etc. – you can cut costs by carrying out some tasks yourself.
One such task is removing old bath sealant before applying a fresh layer. Read on below for our step-by-step guide on how to remove bath sealant quickly and easily.
Why is silicone sealant used on bathtubs?
With all bathroom installations, a sealant is used for several reasons. Many sealants include mastic, a plant-based resin, among their primary ingredients. As a result, mastic has become a generic term for these types of sealants. Mastic sealant helps to freshen up your décor, but it’s also crucial in preventing leaks. Fixed bathtubs are designed to sit close to the wall, and there is always a gap around the edge where water can settle. Without a proper seal, this cavity between the bath and wall can cause your bathroom to become infested with bathroom mould and moisture-related damage.
Can you mastic over mastic?
First things first, does old mastic sealant always have to be removed? Put simply, yes. As such, knowing how to remove old bath sealant is crucial.
Applying new sealant over old sealant is never advisable. Not only will this likely look incredibly unsightly and messy, but any moisture, bacteria or grime that has gathered around the old sealant will become trapped by the new sealant, preserving and ultimately exacerbating the problem.
With this in mind, any old sealant must be removed before the new sealant is applied.
How to remove sealant from a bath
If you are wondering how to remove old bath sealant, a good first step is to prepare your workspace by cleaning and drying the sealant area fully.
There are two popular methods you can use to remove bathroom sealant: it can be removed manually using a utility or Stanley knife or be dissolved using removal gel.
How to remove silicone from a bathtub with a utility or Stanley knife
The most popular method of sealant removal is using a Stanley knife.
There are advantages and disadvantages to this method. The main benefit of removing sealant manually with a knife is that it’s fairly easy to do, though there is the risk of scratching tiles or the furniture that you are removing the sealant from.
To avoid this problem, set aside plenty of time – don’t rush the task.
However, the process itself is very straightforward. Simply cut along the length of the silicone sealant to separate it from the wall/floor – don’t cut along the side closest to the appliance, as this increases the risk of scratching it.
Once you’ve separated the sealant from the wall or floor, take hold of the edge and carefully peel it away. If you do this carefully and slowly enough, you may be able to pull the sealant away in large sections, leaving a few smaller sections behind.
Once the bulk of the sealant is removed, take time to remove the smaller leftover sections, taking extra care if using your knife to do this.
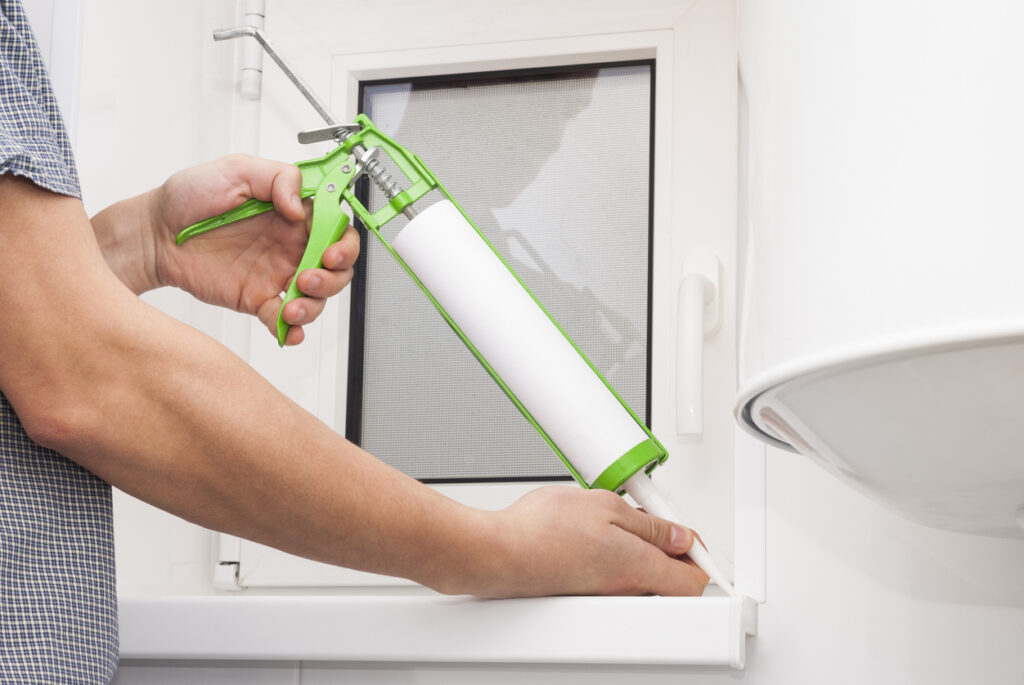
How to remove old bath sealant with sealant removal gel
Another option for removing bath sealant is to use sealant removal gel. These products work to dissolve and break down the sealant, allowing for less manual work from the person taking on the task.
The main advantage of this method is that it’s easy and fairly inexpensive – sealant gel will generally set you back no more than £15 for more than enough of the product to cover sealant removal throughout your bathroom.
The main disadvantage is that the gel will yield varied results depending on how old the sealant you’re removing is, often leaving behind more mess or taking longer to work depending on the age of the sealant material, so prepare to be patient with this product.
Keep in mind, too, that the steps below are general instructions. Always read the instructions on the packaging of your chosen sealant removal gel and follow these directions if they differ from ours.
Generally, however, this is how to remove old silicone from the bath with sealant removal gel: use a sealant gun to apply the gel over the existing sealant, then leave the gel to take effect for between 2 and 12 hours. Older sealants will take longer to break down using these products, so the longer can leave it to work, the better.
Once the sealant has had the opportunity to work, you can scrape the leftovers away using a wallpaper scraper, though a plastic equivalent is a safer option to avoid leaving scratches.
Preparing the area for new sealant
Once you’ve discovered how to remove bath sealant, prepare the area for new sealant by picking away any larger leftover bits of sealant. You can then remove any final remnants by applying white spirit to an old cloth and rubbing it on the area until the remaining sealant falls away.
Then you’ll need to clean the area thoroughly. Diluted bleach is best for this, as it will kill any mould that remains on the surface.
You may also benefit from scrubbing the affected area with a rough sponge or a toothbrush to ensure a full and thorough clean.
Silicone sealant with DBS Bathrooms
Now you know the process for how to remove bath sealant, you’ll need to install some fresh sealant to finish your decoration project and finish waterproofing your bathroom.
At DBS Bathrooms, we offer a range of sealant products, all of which are durable and high-quality.
Browse the full range of bathroom wall panels now or get in touch for more information on any of our specialist bathroom products.
AS FEATURED IN


