

How To Create Recessed Bathroom Shelves with Wall Panels
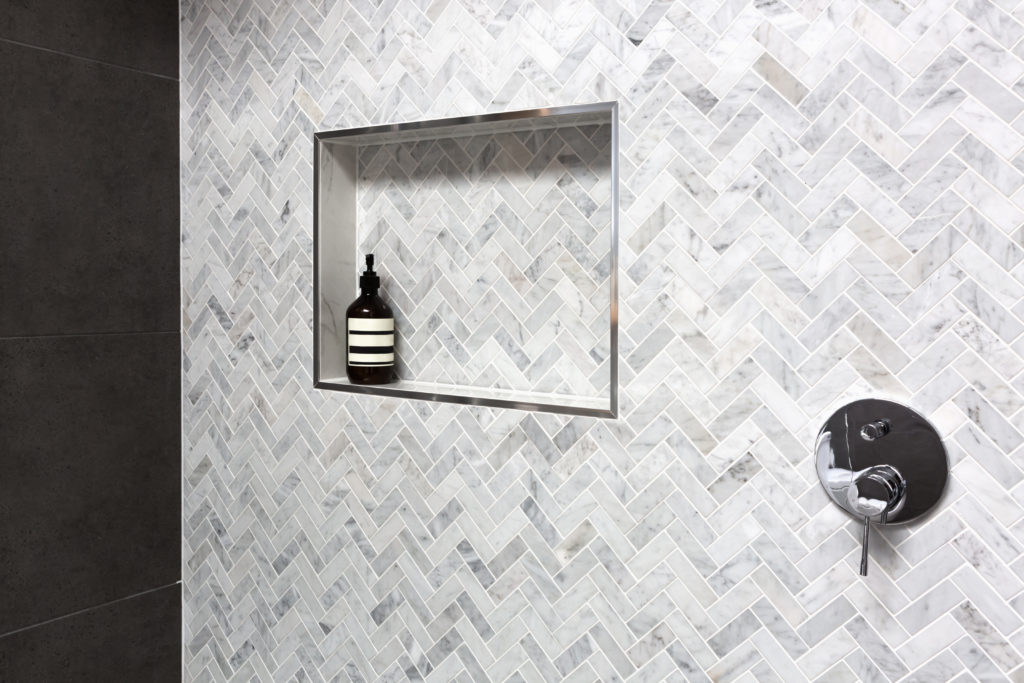
Once you have discovered how to waterproof a bathroom, you might want to add a feature like recessed shelves. Recessed shelves are ideal for creating extra storage in your bathroom. Whether you decide to install one into a stud wall or inside the shower, recessed shelves allow you to create shelf storage without decreasing space inside the room. This makes recessed shelves perfect for use in small bathrooms or bathrooms with low ceilings. Recessed shelves can be a great feature in a wet room or walk in shower, which might be a factor in deciding to replace a bath with a shower. This can also be a beautiful feature for your living room, and can be created using living room panels.
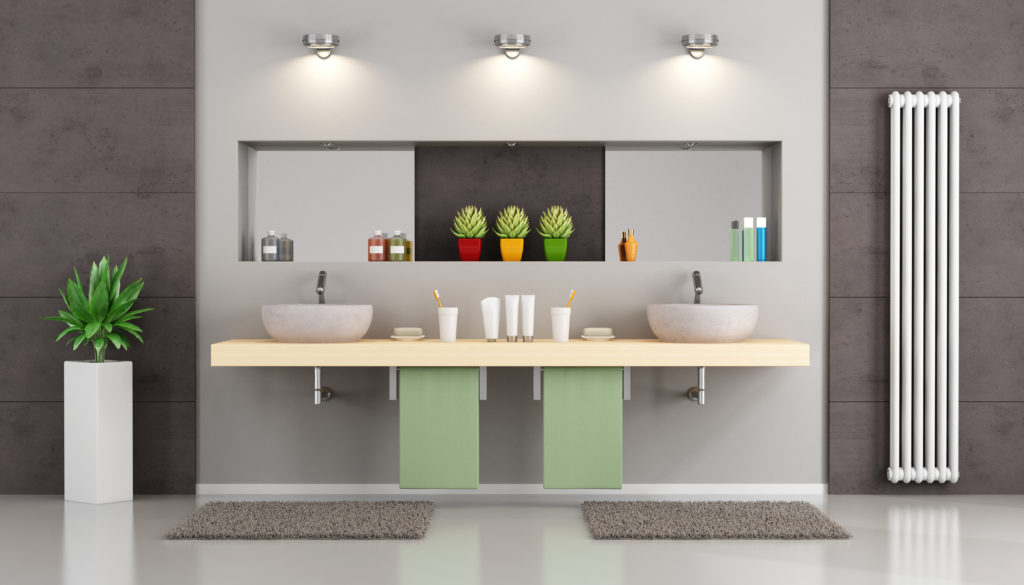
Use recessed bathroom shelves to hold toiletries, towels, plants and accessories. One of our favourite splashback ideas is to use a different type of wall panel for both the splashback and the recessed shelves. They are a relatively simple DIY project that can instantly update your bathroom using wall panels. Consider installing recessed bathroom shelves or a recessed shower shelf before adding waterproof bathroom wall panels for a professional finish. Our 5mm bathroom wall panels are perfect for this type of project, as they are lightweight
Create a recessed shelf from a stud wall
1. Make a hole
The first step to making a recessed shelf is to locate the studs within your chosen stud wall, using a stud finder. Make a small hole to check that the shelf placement will not interfere with plumbing or electrics. Then, use a saw to cut out a hole, and be sure to catch the piece before it falls into the wall. Use a mirror and torch to double check for obstructions.
2. Measure and cut
Measure out the width and length of your shelf onto the wall, and make sure that the lines are straight by using a spirit level. Begin cutting with a saw between the studs.
3. Make a box shelf
Cut pieces of wood to the desired width, length and depth of your shelf and arrange them into position before nailing them together. Build a shelf lip to hang over the front of the wall and keep the shelf in place. Attach the shelf to the wall studs by drilling holes and screws into the sides of the shelf.
4. Install the PVC wall panels by fixing them to the battens on the wall.
To install the wall panels around the inside of the shelf, install battens onto the wall at the same depth of the shelf lip before mounting the panels. This will ensure that the wall panels will be fully supported and will leave the new recessed shelf flush with the wall panels. Line the shelf with wall panels in a similar way to how you would clad a window. If you are creating recessed shelves as part of a bigger bathroom renovation project, discover how to remove bath sealant to ensure you're starting with a clean wall.
Create a recessed shelf whilst concealing the plumbing
1. Hide unsightly plumbing with a false wall
For a clean, professional look, conceal the plumbing in your bathroom by building out wall panels to create a false wall. To do this, build a simple stud wall to either full height or half height that is deep enough to accommodate shelving on its side.
2. Create the recessed shelf
Following steps two and three above, create the recessed shelf and install it into the side of the false wall. You may want to leave a method of easy access to the plumbing in case repairs need to be carried out in the future. Be sure to avoid hitting the plumbing that you’re trying to conceal.
3. Install the wall panels
Install the wall panels by fixing them to the battens on the wall. Cover the inside of the shelf with reference to Step 3 of the above process.
AS FEATURED IN


