

Tips For Installing Slat Wall Panels
Installing slat wall panels will enable you to elevate any room due to their natural look and interesting texture, offering your space a contemporary, chic feel. Slat panel designs are also a great hallway panelling idea when trying to incorporate a sleek, modern style that adds depth to your space.
Specifically, slat wall panels are great for creating a natural feel in your space, as adding the style of wood to your home offers a naturalistic feel, without any of the upkeep that comes with natural materials.

Have you ever wondered how to install slat wall panels? If so, in this blog, we’ll run you through the best way to go about installing slat wall panels whilst offering some inspiration along the way, on how you can refresh your home space.
How to install slat wall panels
The installation of slat wall panels is an easy process which utilises commonly found tools. As all of our panels utilise a tongue and groove installation mechanism, installing your new look has never been easier. To install panels you’ll simply need an adhesive and a fine tooth hand saw or jigsaw to cut the panels to size.
It’s important to note that before you install your wall panels, you should leave them in the room they will be fitted in for 24 hours so will be the same temperature in the room.
The tools you’ll need
When installing slat wall panels, you’ll require the following tools:
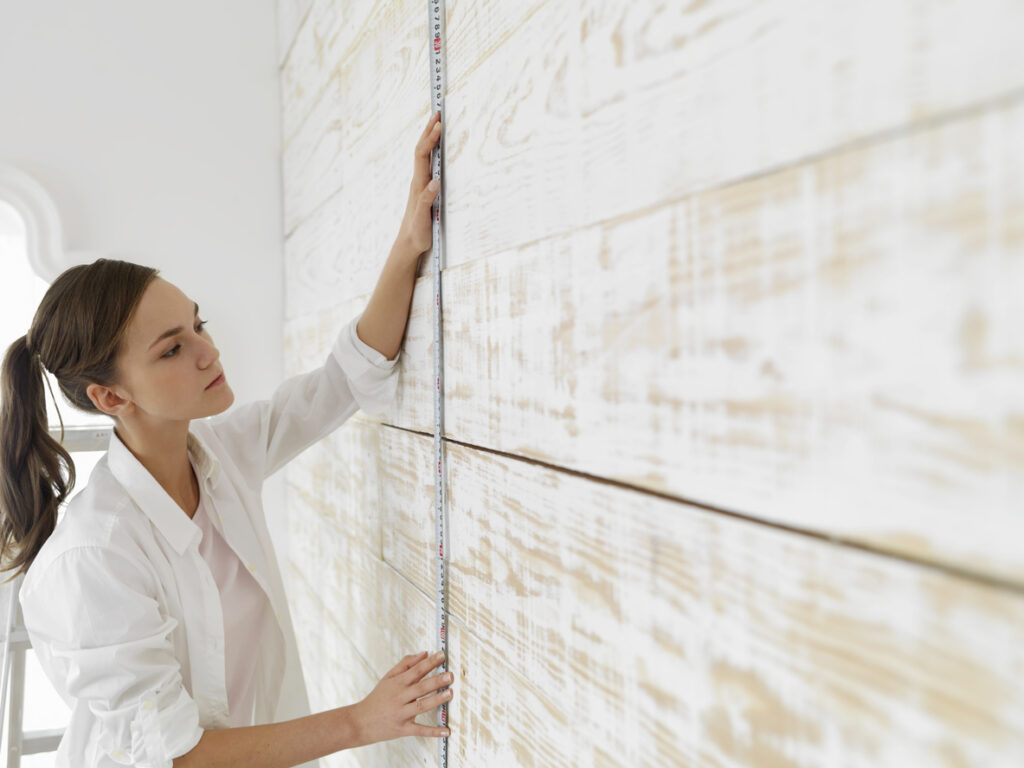
- Tape measure
- Pencil or marker pen
- Fine tooth hand saw or an electrical jigsaw
- Spirit level
- Silicone gun
Step by step guide
Step 1: Preparation
Before installing slat wall panels, you’ll need to calculate the number of panels you’ll require. Ensure that the surface you are installing your panels to is clean, dust-free, smooth, dry and straight.
Step 2: Decide which way you want to place your slat wall panels
Slat wall panels can be installed on your walls vertically, horizontally or diagonally depending on what effect you want to create – this will have to be decided before installation.
Step 3: Cutting your slat wall panels
Cutting slat wall panels is very simple. Mark your measurements on the back of your slat panel with a pencil and cut along your markings using either a sharp fine-toothed hand saw or an electrical jigsaw. Ensure that your slat panel is cut with the decorative side of the panel facing downwards.
Step 4: Apply adhesive
Apply the adhesive to the backside of the panel piping the adhesive into an eye shape or in straight strips all down the back of the panel every 5cm. Cutting off the tip of the adhesive tube will ensure that you use less adhesive and that it also won’t overflow.
Step 5: Starting the installation
Installing slat wall panels should be done from left to right or from bottom to top. Once your adhesive has been applied, secure your slat panel, using a spirit level to ensure you’ve applied your panels straight. Make sure that when you apply your panels they are all connected through their tongue and groove installation.
Step 6: Assembling around sockets
If you are installing your slat panels around sockets, ensure that you’ve cut out the space for these fixtures. Mark out these measurements on your panel and cut these out. No need to worry about fire hazards, our panels are fire-rated Class 1 so there won’t be any heat damage.
Step 7: Screwing into your slat wall panels
You can screw into your slat wall panels 24 hours after installation as this will allow the adhesive to fully set. Fastenings must be on the substrate under the panel, in addition to this the holes must be pre-drilled.
When the hole is made in the slats, make sure it is not in the inner structure of the panel too. If you are installing heavy weight to your panels, make sure that you screw through the panels and into the wall behind them.
Slat wall panel inspiration
We know sometimes deciding on what colour scheme or specific style you want for your house is harder than the installation of the panels themselves. Who doesn’t love to get something right the first time? That’s why here at DBS Bathrooms we’re brimming with ideas so you can get on with installing slat wall panels straight away.
Creating impact
Slat wall panels don’t have to be just used for making a wall pop, they can also be used to create dimension and illusion in spaces.
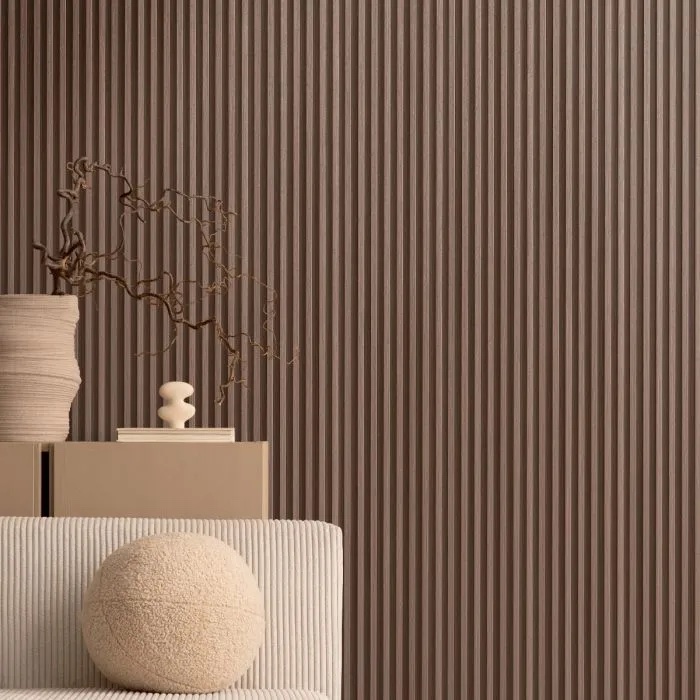
For example, our Anthracite Oak Slat Wall Panel Small Design can be used behind the back of your bed to create the illusion of a wooden headboard, without actually having a headboard there. Bring a naturalist feel straight into your home at a fraction of the cost.

Kitchen slat panels
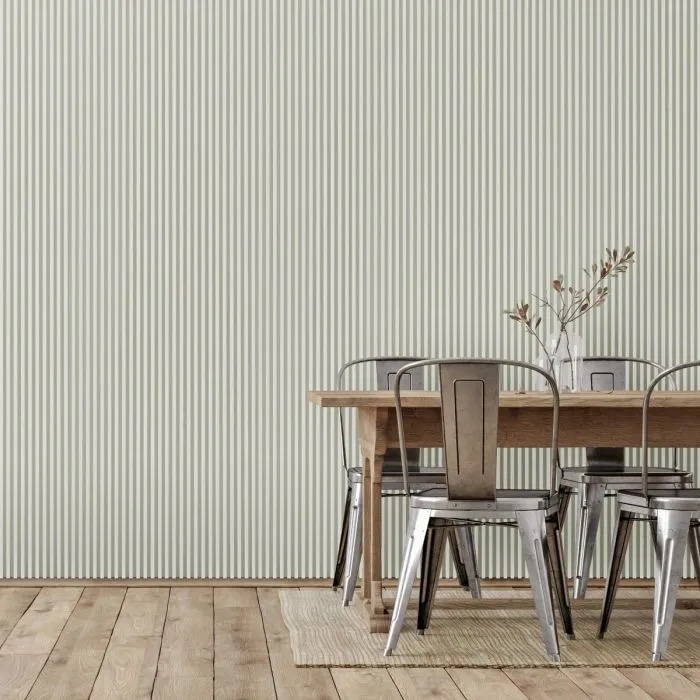
Slat panels aren’t just for bedrooms either. For example, our Light Walnut Slat Wall Panel Small Design can be a great choice for the kitchen areas as they can create a splashback or can also organise a space. Installing these panels will create a categorised zone drawing the attention of any onlookers into spaces you want attention to be drawn to.
Bathroom slat panels
Our slat wall panels can also be used in the kitchen. Our slat wall panels are great and can be installed in areas with humidity and wetness. Bring a refreshing earthy ambience to your bathroom with our Pure Oak Slat Wall Panel Small Design.

Contrasting spaces
Slat wall panels can be a great choice if you want to separate a room but don’t want the hassle of knocking through walls, adding walls, or generally just rejigging the room. Adding a space with contrasting colours means that you’ll be able to create dedicated spaces in certain areas of your room without any physical barriers. Contrasting our Anthracite Oak Slat Wall Panel Large Design with any lighter-coloured walls you may have will be the perfect way to achieve this.

Ceiling inspiration
Adding texture to your ceiling can create an interesting dimensional space, sure to refresh your existing ceiling colour. Our White Ash Slat Wall Panel Small Design will add interesting texture to any ceiling.
Make installing slat wall panels a reality, today!
At DBS Bathrooms, we offer a great range of products, so whatever ideas you have for slat wall panels, we’ll have the product for you.
For more information on the DBS Bathrooms’ slat wall panels, request free samples or get in touch with DBS Bathrooms today.
AS FEATURED IN


