Can You Put Splashback Over Tiles?
Have you ever wondered: can you put splashback over tiles? If so, the quick answer to this is yes! Therefore, within this blog, we will give you a step-by-step guide on how to undertake a successful splashback installation.
Achieve the most stylish and practical kitchen of your dreams with DBS Bathrooms.
Popular styles
Unsure of which splashback to get? Here at DBS Bathrooms, we have a range of wall panel splashbacks perfect for your bathroom and kitchen basins.
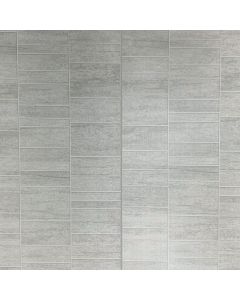
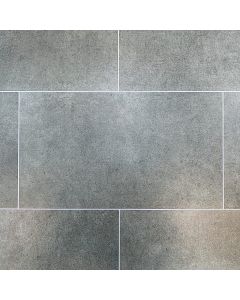
We have a vast range which includes Concrete Effect Wall Panels which offer an industrial touch to your basin area. Alternatively, if you would rather have a similar feel, which offers more of a stripped-back urban look our Brick Effect Wall Panels will suit your design preferences perfectly
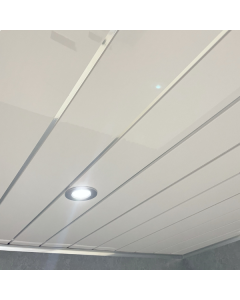
If you like a muted colour scheme which looks slick and minimalistic, our White Wall Panels are the perfect choice for you. They offer a light and airy feel to any basin area, complementing any pre-existing designs you may have.
If you want to make a statement, a bright-coloured splashback can create a warm and standout feel to any basin. If you love a good bright colour, you would love our vibrant Purple Wall Panels.
Our step-by-step guide
The materials needed:
If you’ve ever wondered how to fit a splashback over tiles, it’s important that you know which material to have to hand before undertaking this task.
Therefore, you will require the following materials:
- Splashback of your choice either from our Splashbacks For Kitchens or our Bathroom Splashbacks
- Measuring tape
- Pencil
- Silicone adhesive
- Silicone sealant
- Caulking gun
- Clean, dry cloth
Measurements
When considering how to fit a splashback over tiles, it is important that you measure the area where you want the splashback to be fitted. Measure the area you want to fit the splashback to and ensure that you have accurately considered any other sockets or switches too.
Prep the area
Clean the area you are going to fit the splashbacks to by using mild detergents and rinsing thoroughly, drying after with a clean cloth.
Apply adhesive
Once every surface is prepared, it is important to apply the adhesive to the splashback you have decided on. Do this by applying the adhesive to the edges and in a zigzag pattern in the middle.
Ensure an optimal amount of adhesive is put on the splashback, as this will stop the adhesive from oozing out the sides when the splashback is fixed to the wall.
Position and secure adhesive
If you’ve ever wondered can you put splashback over tiles, it’s important to know how to position and secure the adhesive.
You can do this by placing the splashback firmly on the measured area, pressing it firmly onto the tiles and wiping away any excessive adhesive.
Sealing adhesive
Once the adhesive has dried, which could be up to 24 hours after the application, apply your silicone sealant around the edges of the splashback between the worktop and the wall.
This seals and gives a finished look to the splashback you have now installed.
Cleaning splashbacks
Use a cloth which is both dry and clean to get rid of smudges from any fingerprints on the splashbacks. And, that’s it – your new splashback will be fitted both seamlessly and stylishly.
A few key tips
If you’ve ever wondered can you put splashback over tiles, you’ve also probably wondered what the best tips are to ensure that you achieve the best-looking splashback possible.
Accuracy
Being accurate with any DIY project is crucial. Ensure that you have been accurate in your measurements of your splashback.
Also, ensure that you have been accurate in finding an adhesive which is suitable for your project and you have prepared your splashback prior to installation.
Patience
Ensure that you wait long enough between each and every step. This will ensure that the products have dried adequately and that you have also had time to think and plan out every step as best as possible.
Quality
A high-quality caulking gun ensures that you will have the most control possible over the adhesive application. This will make your end result clean and even. Additionally, if you’re planning on using a wall panel as a splashback over existing tiles behind your hob, be wary that you need to use a sheet of protective heatproof glass to prevent the panels from warping.


